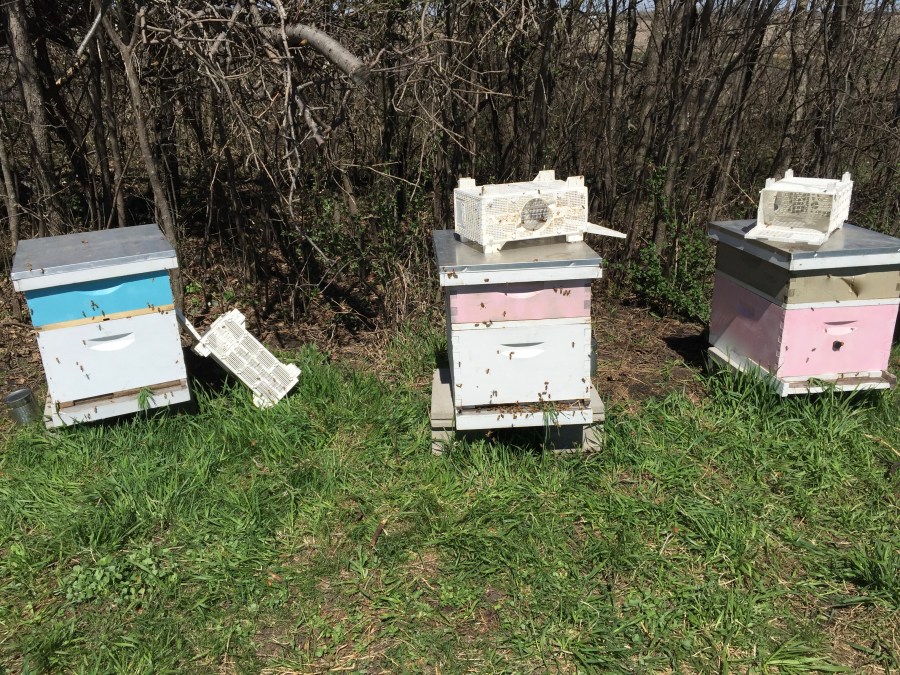
Yesterday morning I drove out to Stillwater to pick up our annual order of bees. This year we purchased three 3-pound cartons of hygienic Carniolans, each with a queen. In the past, they’ve come in wooden crates that have fine screen on the widest sides, and a tin can in the middle with pinpoint holes in it that leak out sugar syrup to feed them. This year, the bees arrived in sturdy white plastic cartons (shown sitting next to and on top of hives in photo above, taken after the bees had been put in the hives) that had “bee bus” printed on the side. It was a challenge to get the first one open when putting them in their hive, but I got the hang of it and the second and third ones went much more smoothly. The boxes are much more sturdy, and fewer bees seemed to be escaping.
In the afternoon I met George at our hive site and we set up the three new hives alongside the two older ones. When setting up a new hive, you need a stable base a little off the ground, so we use cinder blocks that are as level as we can make them. Then there’s a wooden base piece for the hive, upon which you stack the hive bodies. To start a new hive, you use only one hive body box, and take out several of the frames in the middle before putting the bees in. In order to put the bees in, you liberally spray the bees through the holes in their carton with 1:1 sugar water syrup so that they’re good and sticky, and weighted down. Then you pry open the end of the carton and shake the bees into the open space in the middle of the hive body box. If they’re all in a big lump, gently spread them across the bottom of the box so that you can replace all the frames without mashing the bees.
The queen comes with the colony, but arrives in a tiny little box within the carton, separated from the rest of the bees. The queens are bred separately, and impregnated prior to being introduced to the colony. They are put in their little tiny cages and stuck inside the cartons with the rest of the colony right before being shipped across the country (our bees came from California), but if they’re with their colony for less than 3 days before being hived, it’s especially important to do what’s called a slow release method so that the colony gets used to the queen’s scent and accepts her.
The queen cage has a tiny little cork plug on one end, which is easily removed with a pocket knife. It’s important to do that gently and carefully, so as not to damage the queen in the process. After removing the cork, you replace it with a small marshmallow, then place the queen cage in between two of the frames (anywhere) in the new hive. The hive members will continue to get used to the queen’s scent and accept her while chewing through the marshmallow and releasing her within a couple of days.
Before closing up the brand new hive, it’s important to make sure it is fully enclosed so that the bees can’t leave for the first 24 hours. They need time to acclimate to their new home. All entrances are plugged with corks or grass. Since they can’t leave to forage, they must be fed during this time. A pollen patty and feeder tray are placed on top of the hive body box, then the telescoping cover can be put on. The hive is contained and has a day or so to get used to their new digs.
If it stops raining this afternoon, I might go check on them and unplug one of the holes in each new hive so they can start to forage. I’ll also do a more thorough check of the older hives to see if there are any more eggs or capped brood; we want to see continuing signs that the queens are healthy and productive right now. I’ll also spot-check again for any signs of mites.
